In the previous “How-To’s” we went through the process of creating an Azure DevOps project, setting up a repo which we are going to export a solution from Dynamics 365 now. If you haven’t seen those posts I recommend going through those first before creating a pipeline. I’ve added those posts at the bottom of this post.
First, we are going to start with creating a new pipeline
- Navigate to Pipelines
- Create a new Pipeline
- Choose “Classic editor”
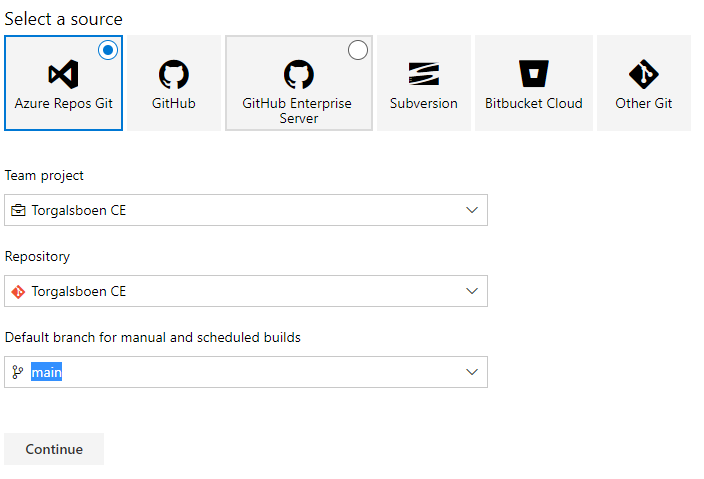
- Choose “Azure Repos Git”
- Choose your project, repository and leave the branch as default “main”.
- Click “Continue”

Next up we need to create a job for the pipeline. We will choose the “Empty job” option for this

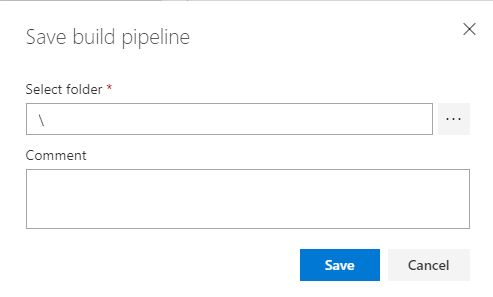
Navigate to “Save & Queue” and click “Save”, inside the pop-up window click “Save”
Now that we have created a new Pipeline, we need to make some additional changes to the agent running the pipeline. Click on “Agent job 1” and then under “Additional options”, check “Allow scripts to access the OAuth token”.


Now we need to add some jobs to the pipeline.
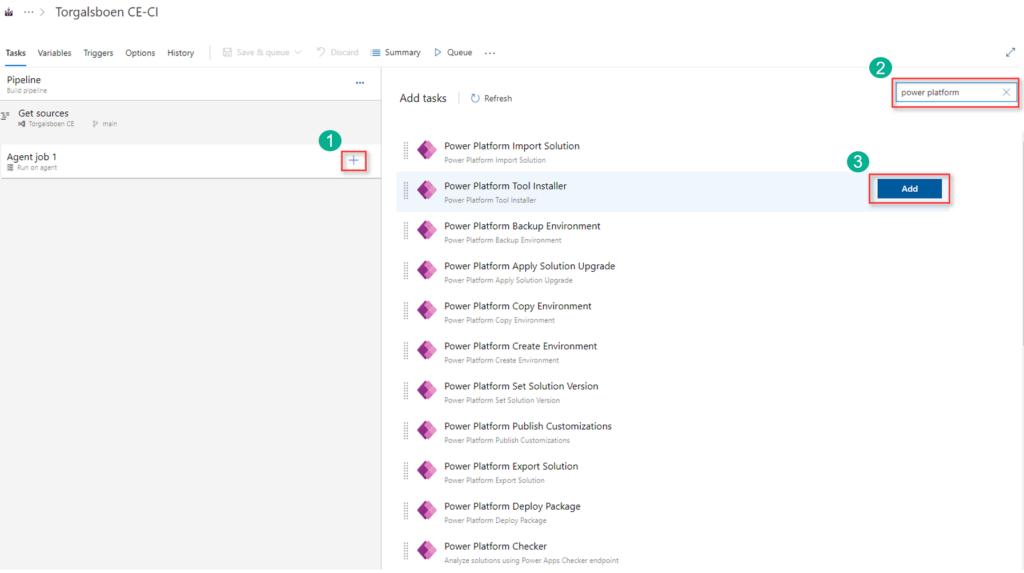
- Create a new agent job for the pipeline
- Search for “Power Platform”
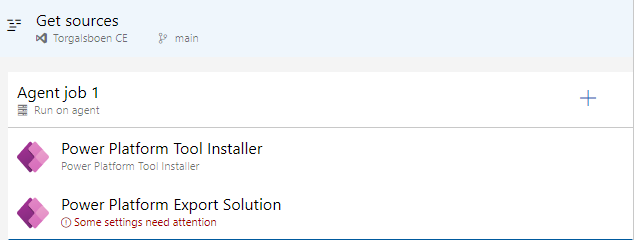
- Click “Add” on the Power Platform Tool Installer
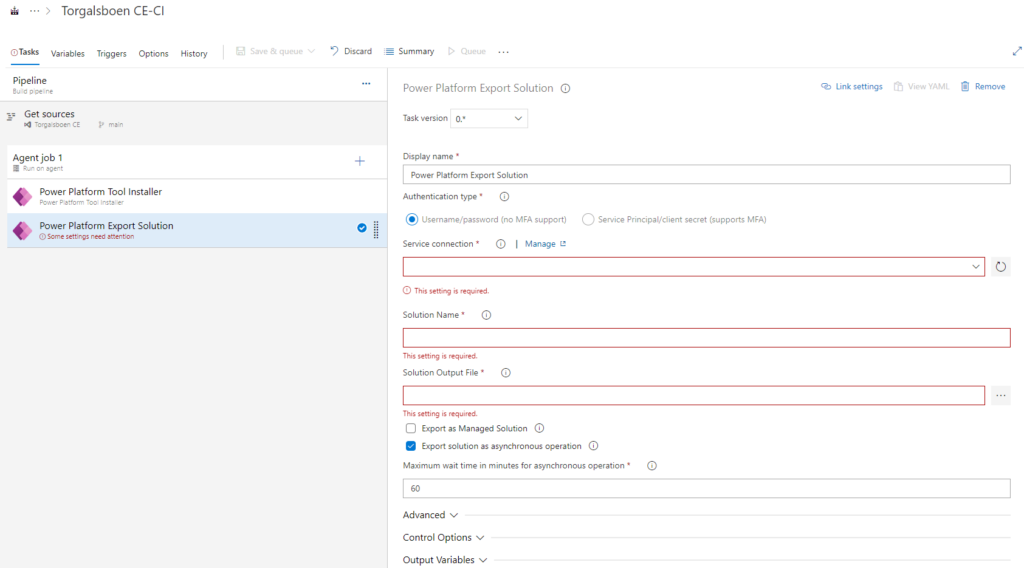
- Under “Power Platform Export Solution”
Click “Add”
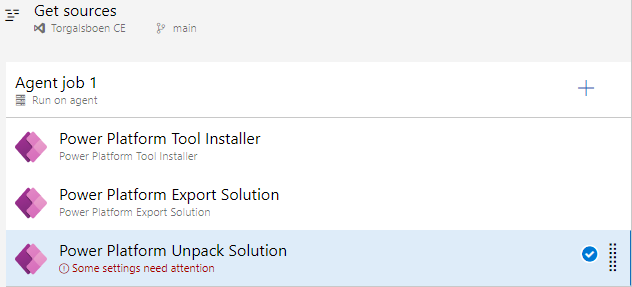
Now you got two agent jobs in your Pipeline
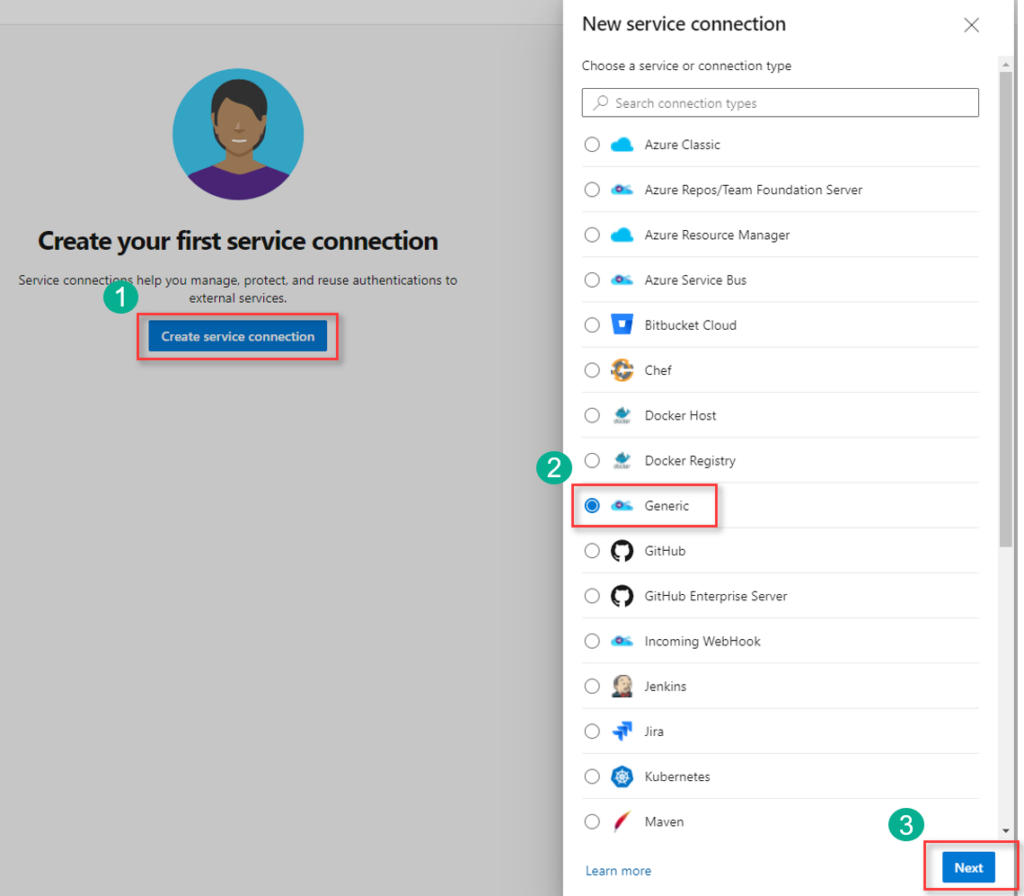
- Click “Create service connection”
- Choose “Generic”
- Click “Next”
- Copy/Paste URL from your DEV environment, starting with Https://
- Provide your credentials for authenications
- Under “Connection name” choose name desribing what kind of connection this. For me I choose: “Dev Environment”
One thing to remember during this step, is to use an account that does not have MFA authenication. If the account connecting to environment requires MFA, you will not be able to use it unless you create an app registration in Azure (which gives the right privilgies).
Now that the service connection is created, we could continue to create the export pipeline.
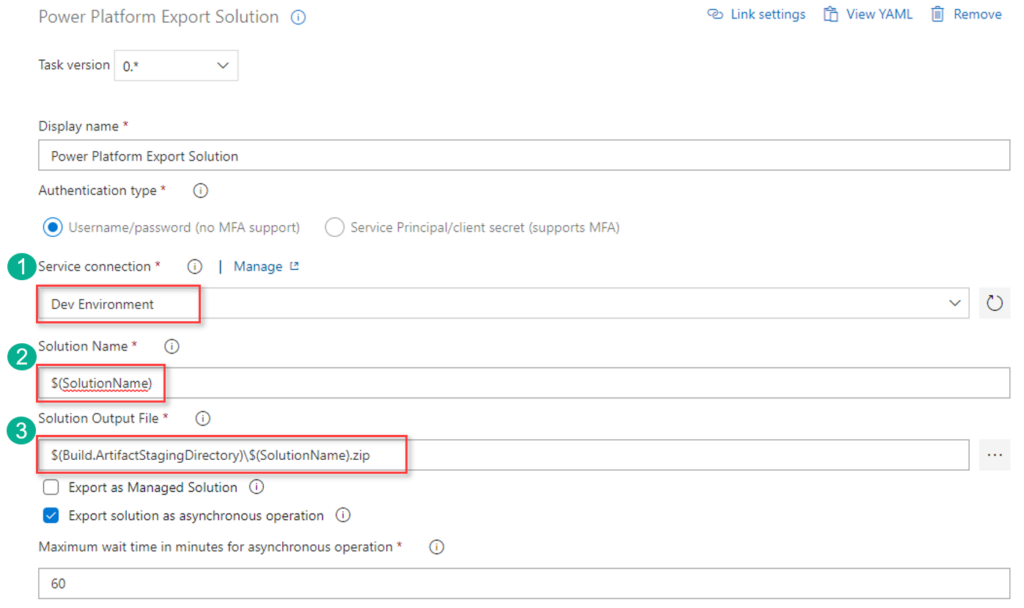
- Choose the service connection we recently created to the dev environment
- Under solution name, we will use a variable called “SolutionName” so make this step more dynamic. Under each run of the pipeline you could easily write which solution name you want to export.
- Now we need to choose where to store the solution temporary before adding it to repo.
- Once all three steps is done, click “Save & queue” and click “Save”.
Now that we got our “Export Solution” task ready, click “Save and Queue” and then “Save”.
Next up we need to unpack the exported solution and then commit this to the repo.
Click the “+” icon to add a new task to the pipeline.
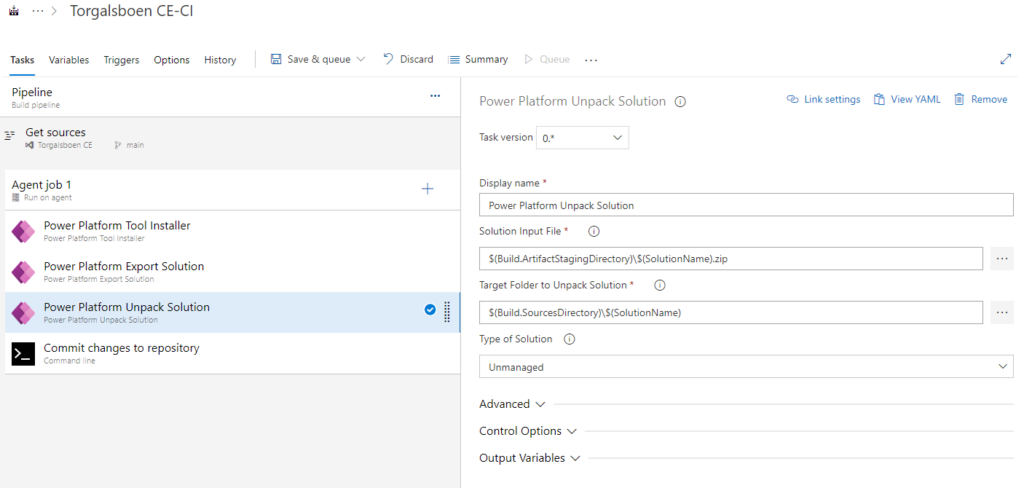
Add “Power Platform Unpack Solution”
Solution Input File = $(Build.ArtifactStagingDirectory)\$(SolutionName).zip
Target Folder to Unpack Solution = $(Build.SourcesDirectory)\$(SolutionName)
Click “Save and Queue” and then “Save” to save the changes made to the pipeline.
Now that the solution is exported we need to commit it to repository, and to do this we need to at a final task.
Click “+” icon and add “Command line” task.

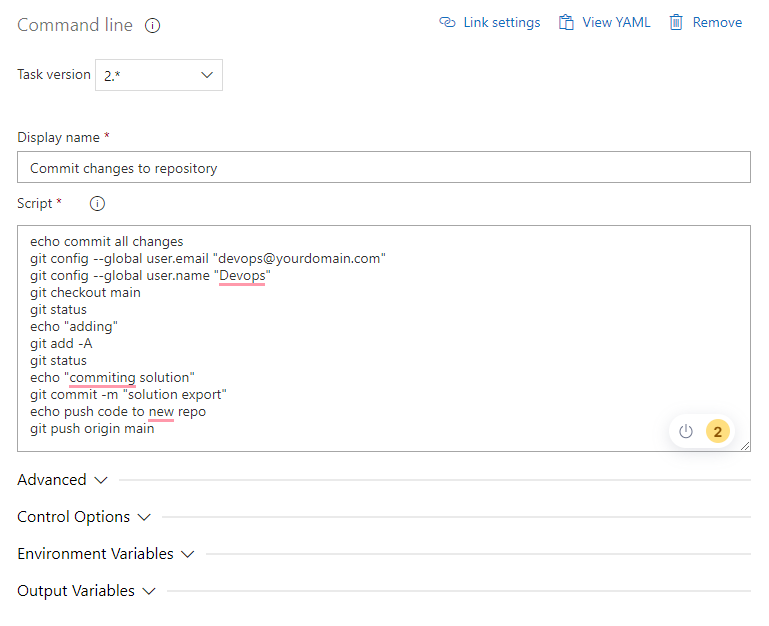
echo commit all changes
git config --global user.email "devops@yourdomain.com"
git config --global user.name "Devops"
git checkout main
git status
echo "adding"
git add -A
git status
echo "commiting solution"
git commit -m "solution export"
echo push code to new repo
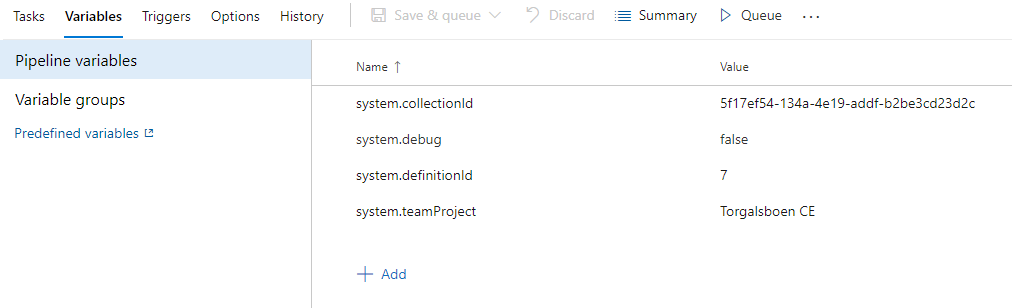
git push origin mainBefore we are able to test our Export Solution Pipeline, we need to add a variable representing the solution name from the development environment.
Now that we are done creating the pipeline, let’s run it. Navigate to your pipeline, and click “Run”.
This will start your pipeline and after a couple minutes (depending on the size your solution is) you should see something like this:
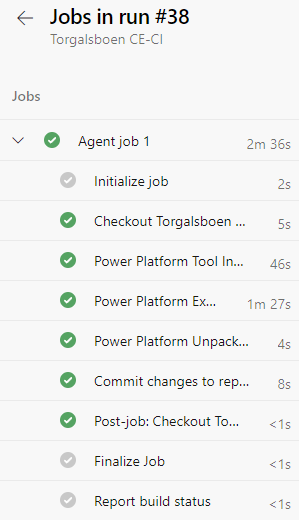
Now navigate to “Repos” and see your solution has been committed.


Previous posts regarding the creation of Azure DevOps project and creating a repo.