In the last blog post, I created a guide on how to create a new Azure DevOps project. In this blog post, I will walk you through creating a new repository that we are going to use to store the Dynamics 365 solutions after exporting them from an environment.
If you don’t have an Azure DevOps project set up, please go through this blog post first:
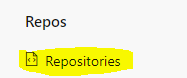
Start by navigating to “Repos”

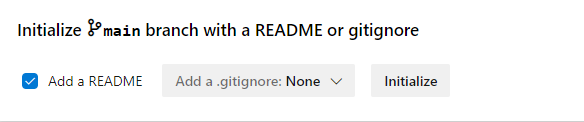
Scroll down, check the Add a Readme checkbox, and click “Initialize”
Next up we need to configure Power Platform Build Tools.
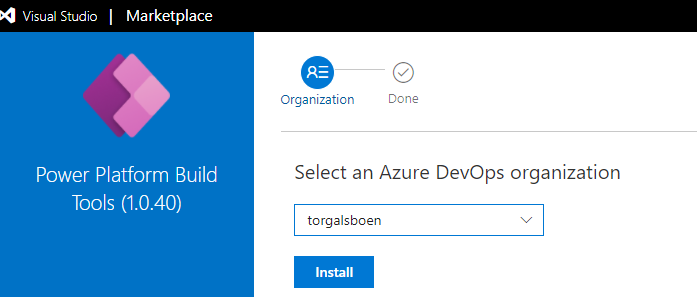
Navigate to https://marketplace.visualstudio.com/azuredevops and search for “Power Platform Build Tools”.

Navigate to the one from “Microsoft” and then click “Get it free”
Choose your organization and then click “Install”
Now that we got the Power Platform Build tools installed, we need to configure the permissions for the repository.
In Azure DevOps, navigate to “Project Settings”

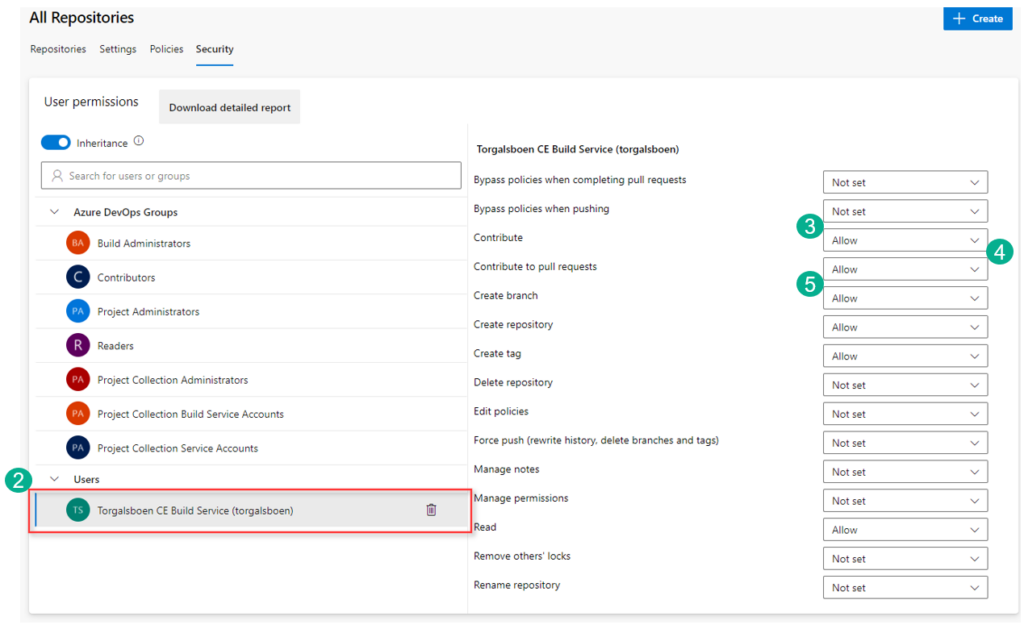
Under “Repos”, click “Repositories” and then choose the repo we recently created.
- Navigate to Security
- Under “Users”, choose the build service account. (Torgalsboen CE Build Service (torgalsboen)
- Under “Contribute” choose “Allow”. This makes the account able to contribute to our repo once we are exporting the solution from Dynamics 365.
- Allow contributions to pull requests (this depends on what you will allow on your project, but i’ll leave this allowed)
- Allow the pipeline to create branch (this depends on what you will allow on your project, but i’ll leave this allowed. But later we will use the pipeline to create a branch once a new development environment is created)
Now our repo is finally ready to get a Pipeline that exports a solution from Dynamics 365 and adds it into our repository.