
In this blog post, I will cover the basics of how to create a new project in Azure DevOps. Later on, I will create more posts regarding extending your project with repos, pipelines, test plans, and artifacts.
To be able to create a new project in Azure DevOps you will have to navigate to www.dev.azure.com
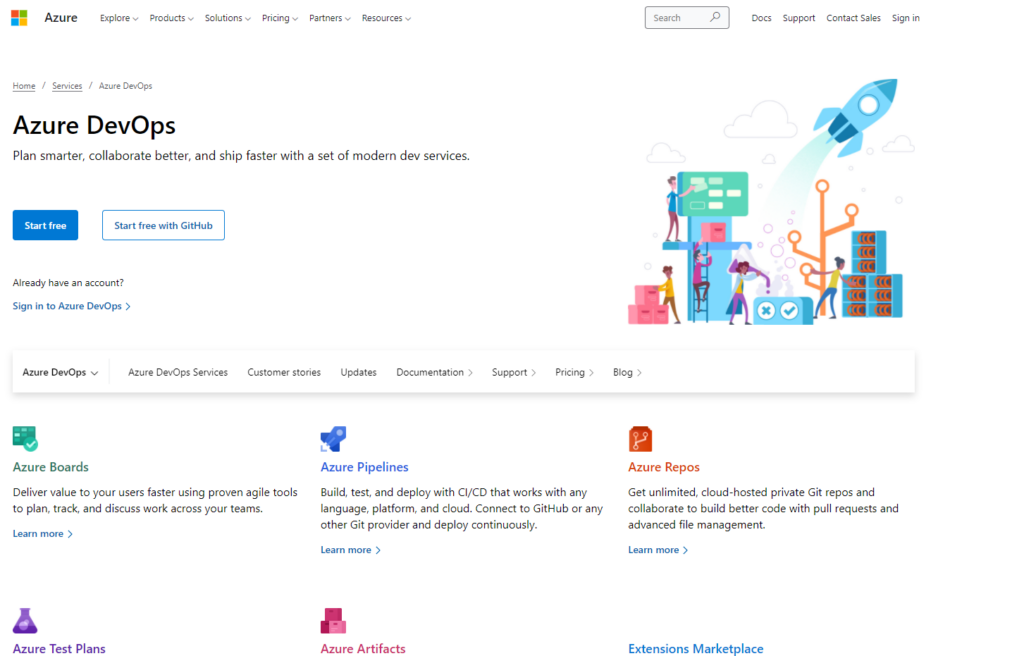
Here you will be able to either start a free trial or log in to your account. I will log in to my account on how to progress on how to create a project once you’re logged in to the home page of Azure DevOps.
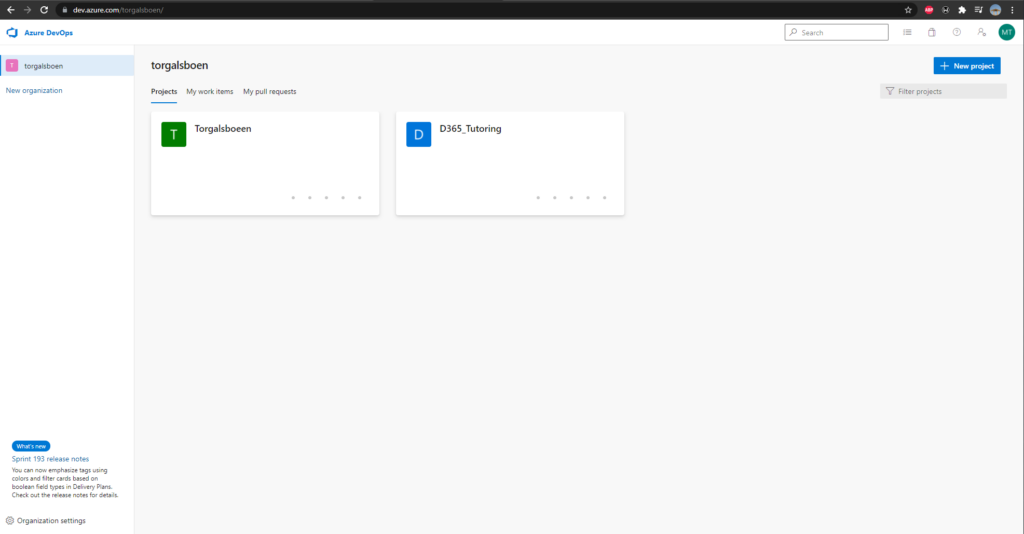
Now that you are logged in to Azure DevOps you should probably see this screen, this is the home page where you will be able to see all your projects and be able to create a new project.
Start by filling out the fields for creating a project:
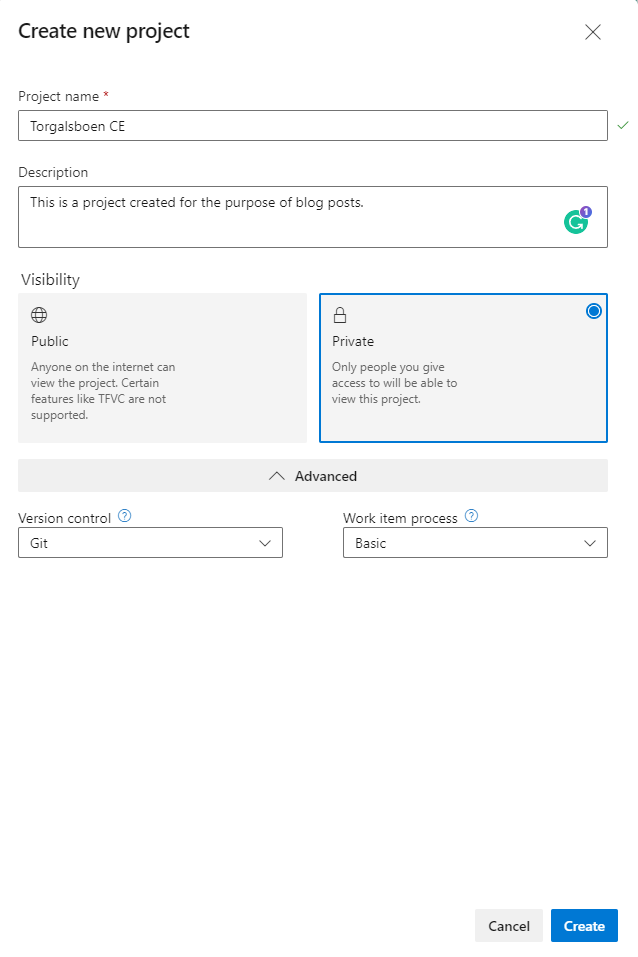
Under the “Advanced” section you will be able to choose the “Work item process”, which is the way you are planning on running the project. For this blog post, I will choose “Basic”. If you are in doubt of which process you will choose, I recommend reading this article from Microsoft describing the different processes. (https://docs.microsoft.com/en-us/azure/devops/boards/work-items/guidance/choose-process?view=azure-devops&tabs=basic-process)
When you are done choose your options, click “Create”.
And voila! Here is your new Azure DevOps Project created.
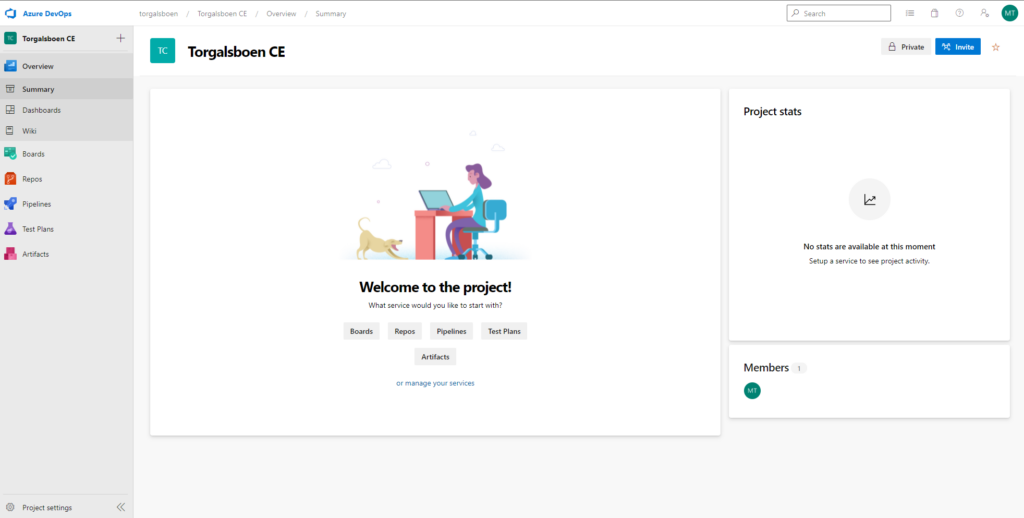
In the next blog posts, I will extend this project even further. If you have any topics you want me to cover in the further blog posts please leave a comment below or reach out to me on social media.